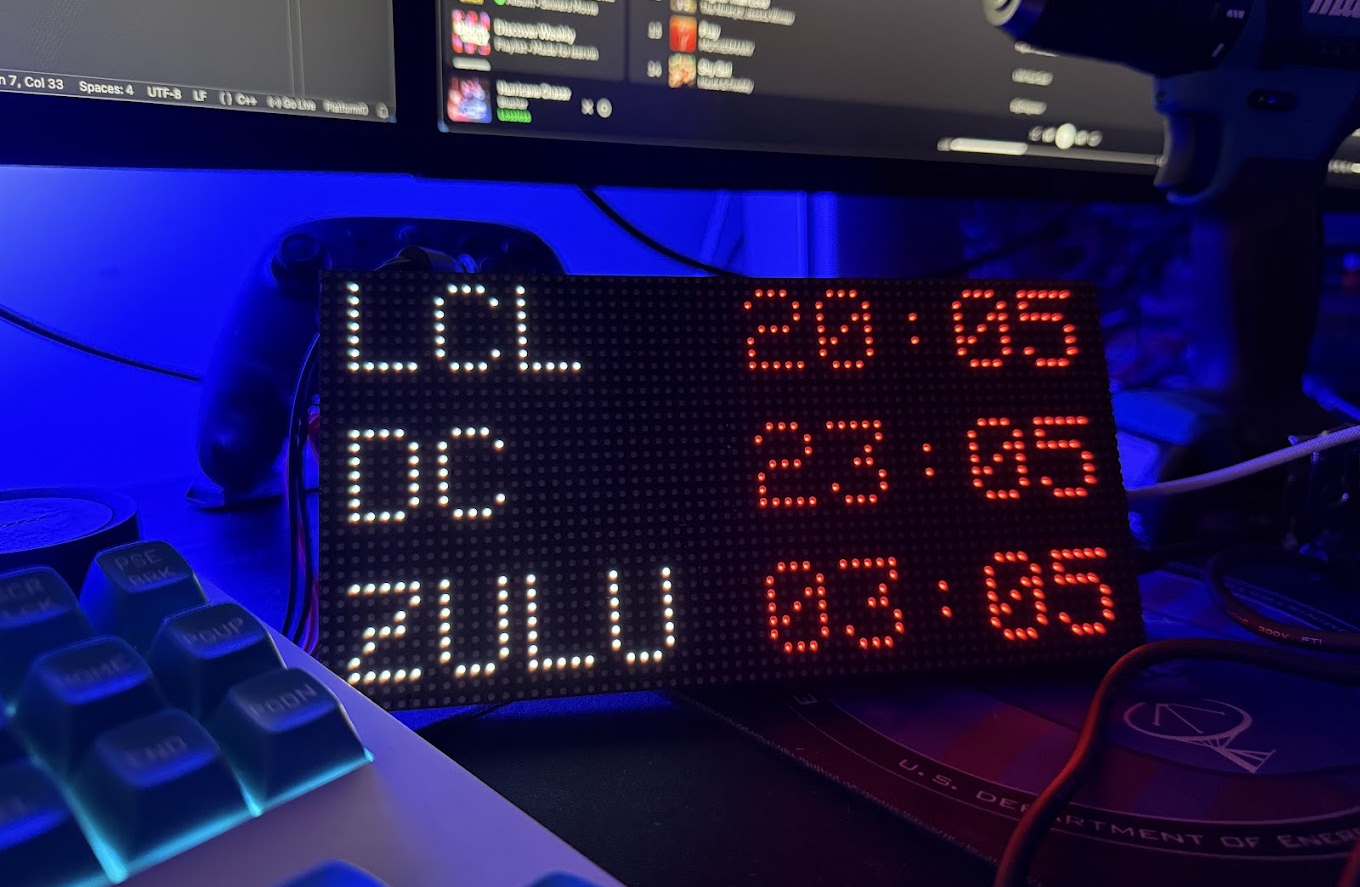
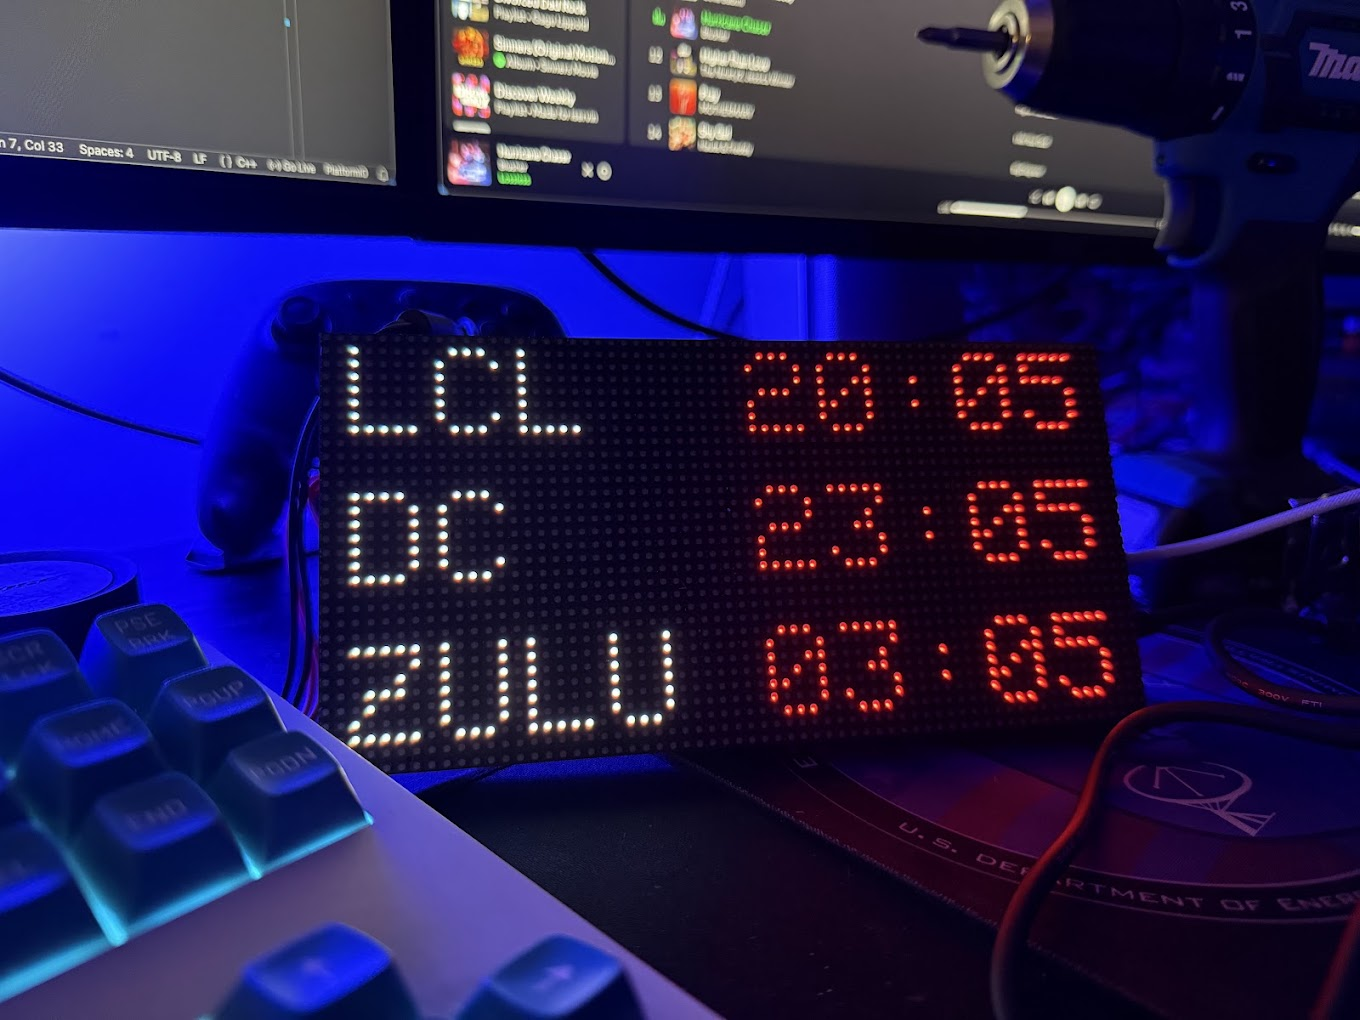
A quick writeup on a BRG Precision inspired multi-timezone clock build. If you are not a clock nerd like me, BRG Precision is the go-to vendor for fancy clocks you see in operations centers across industry and government. They have all kinds of models and layouts, but given the intended use case and who buys them they are quite large and very expensive.
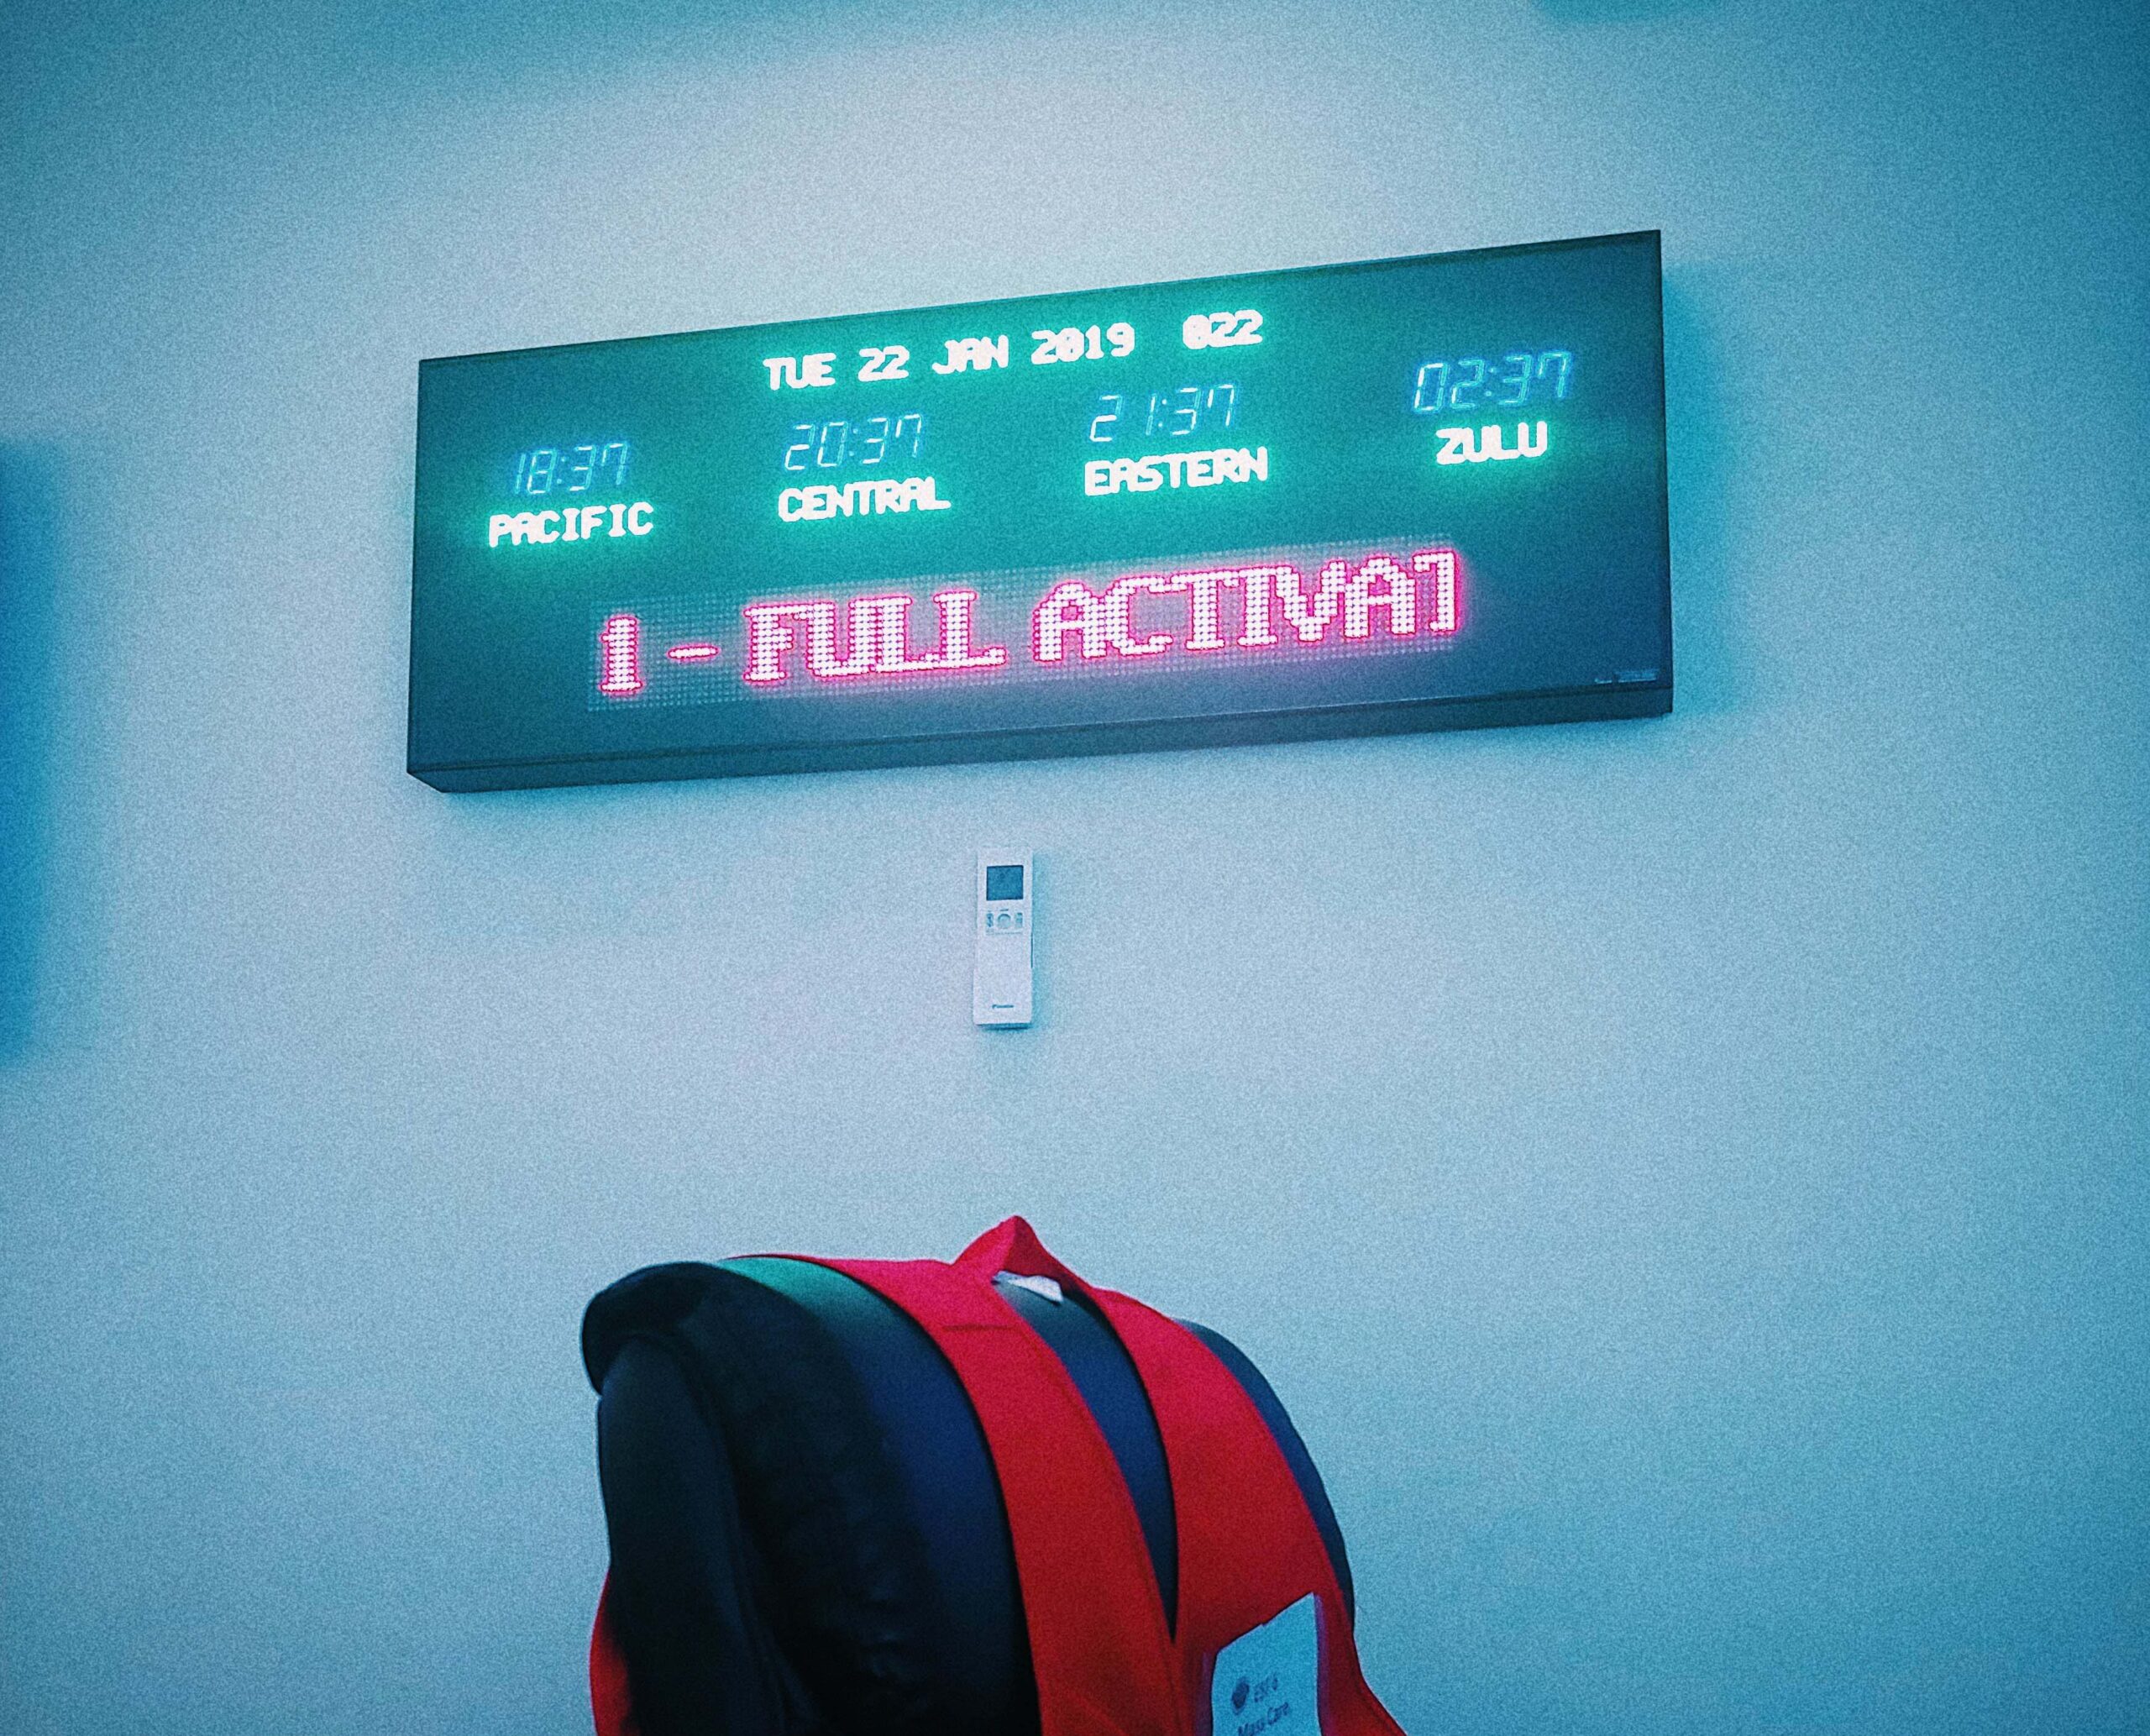
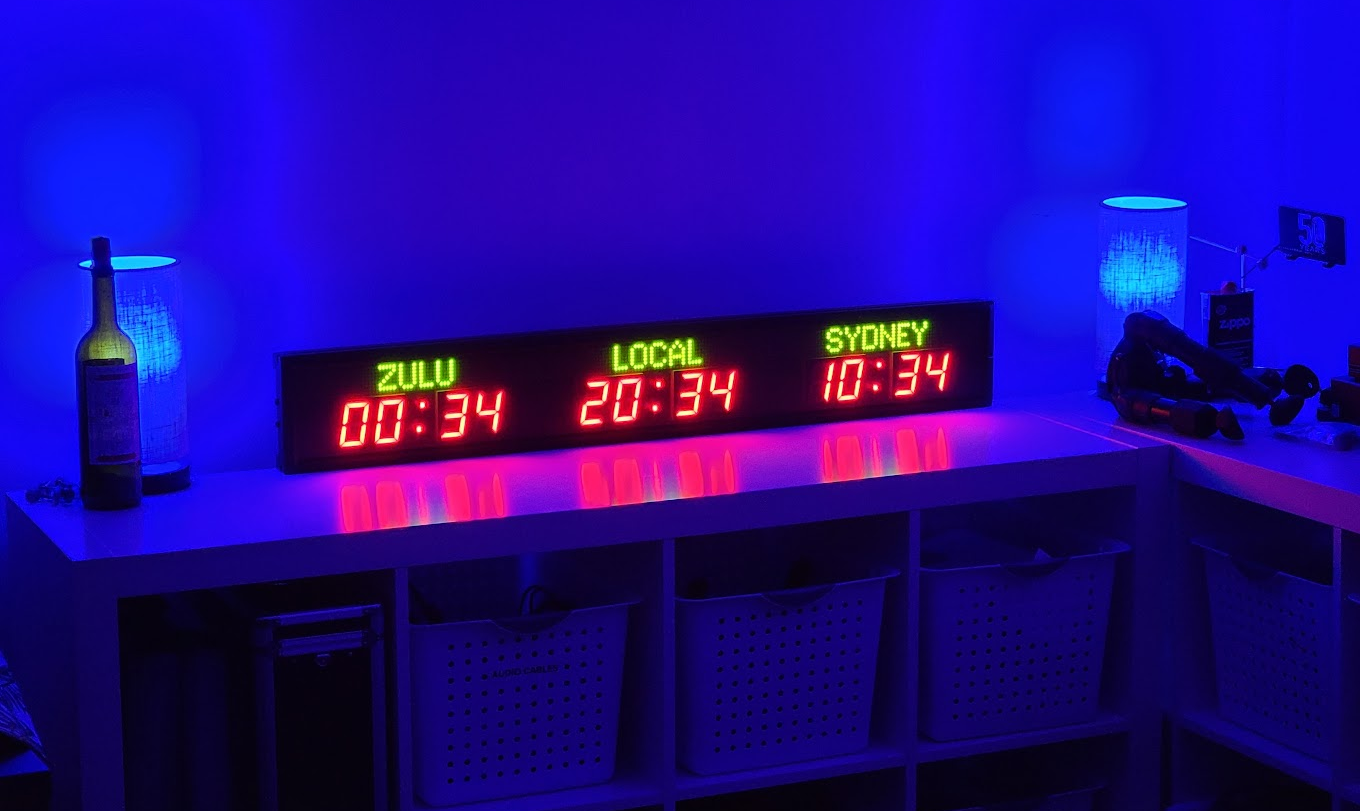
For a long time, I have both wanted my own multi time zone operations center clock that was a) affordable and b) reasonably sized for an individual workstation. I have purchased at least one knockoff BRG precision clock which was great, aside from being way too large, until it died a few months after purchase.
I have also been looking for an excuse to dip my toes into the world of LED matrix panels. On the hobbyist side, that market has really matured since I first saw panels first pop up on Adafruit. These days not only are panels cheap, but controlling them is easier than ever and there’s a particularly straightforward board called the ESP32 Trinity that combines an ESP32 controller with all the necessary bits to take in power and drive the panels onboard. It even connects directly to the controller input on the back of the panels.
Here is the specific BOM for this project…
- ESP32 Trinity – https://www.makerfabs.com/esp32-trinity.html
- 64×32 RGB LED Matrix – 3mm Pitch – https://www.makerfabs.com/64×32-rgb-led-matrix-3mm-pitch.html
- 5V 6A power supply – https://www.makerfabs.com/5v-6a-ac-dc-power-adapter-with-cable.html
The code for the clock is extremely simple and up on Github here. It uses ezTime to grab time over NTP and set wifi credentials and time zones directly in the code. In the future, it would be simple to add a basic web UI for configuration but I haven’t implemented that yet. I also haven’t soldered the Trinity’s LDR for auto-brightness even though I brought in that functionality from some example code.
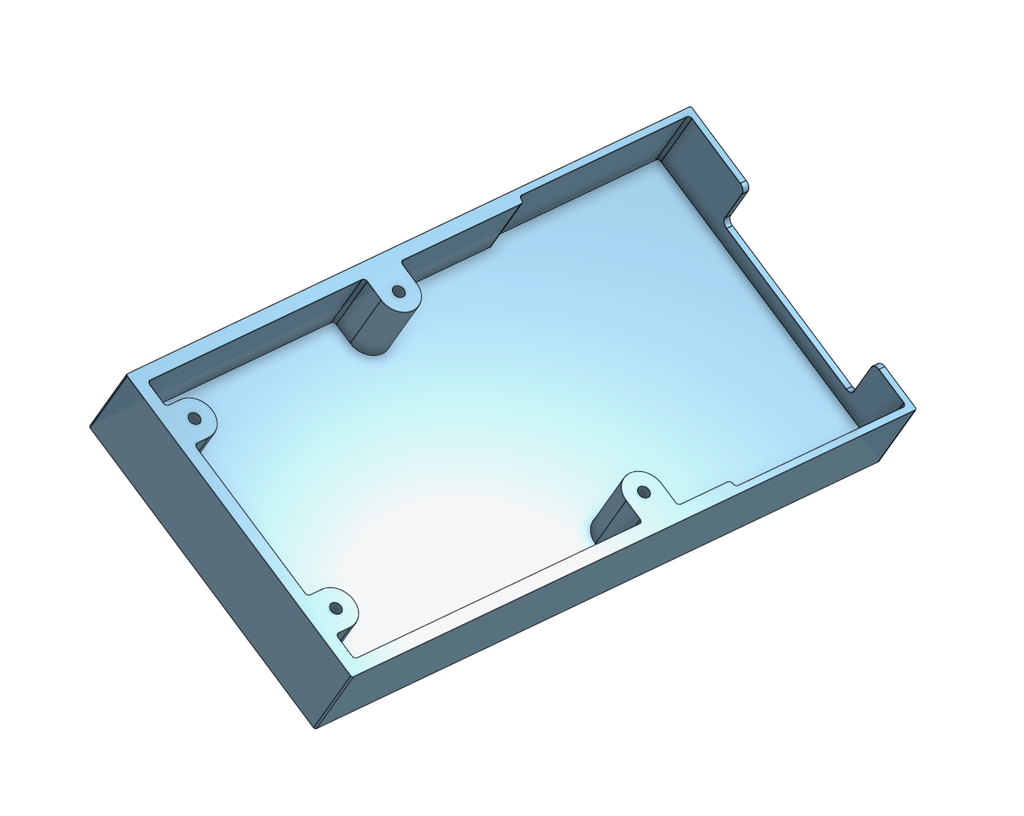
To button things up, I designed a super basic enclosure that uses the M3 inserts in the panel frame to secure to the back of the unit. A generous cutout on the side provides clearance for USB and power connectivity, and you can reach the board’s reset button. The enclosure is on Onshape now and will be on Printables in the near future.